How to Clean a Shipping Container Before Use: A Step-by-Step Guide
Share
Let’s break down how to give your shipping container a proper cleaning before turning it into a workspace, living space, or storage unit:
Step 1: Empty It Out
Before you do any cleaning, clear everything out of the container—including pallets, trash, or leftover packing materials. Give it a good sweep to get rid of loose dirt, dust, and debris, especially from the corners and seams.
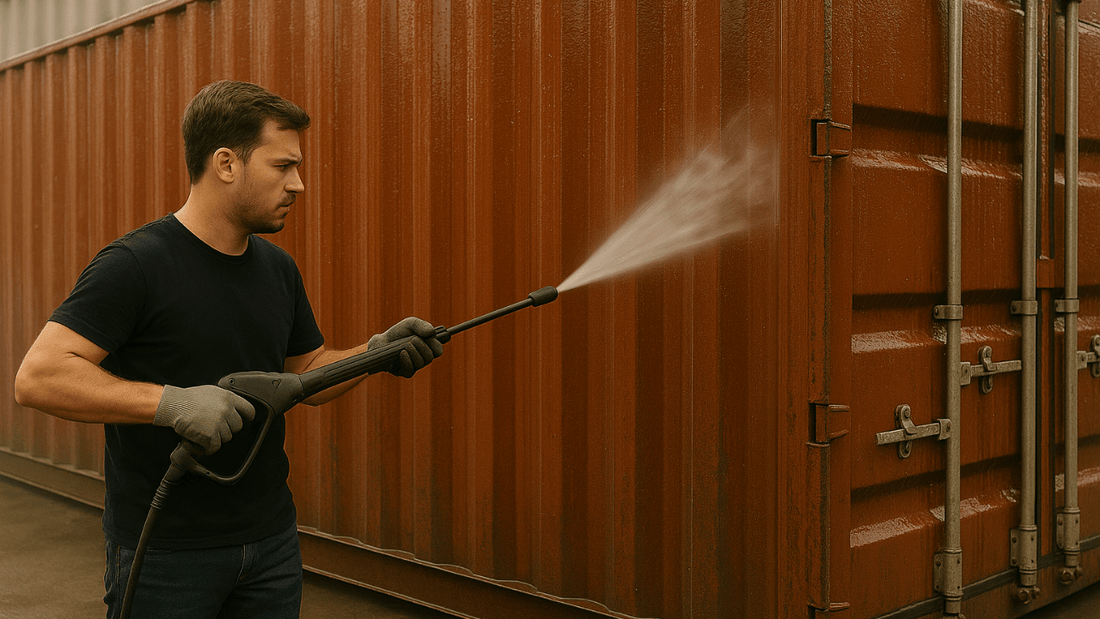
Step 2: Power Wash Inside and Out
Power washing is one of the most effective ways to clean the surface of a shipping container, especially if it’s covered in dirt, grime, or salt residue. Start with the exterior, working from top to bottom to avoid streaking. Use a wide spray nozzle to avoid denting the metal or damaging door seals. For tougher spots, like grease or rust stains, add a degreasing detergent to the mix.
Once the outside is clean, move to the inside—paying close attention to the corners, floor, and ceiling. Just make sure the container is on level ground with good drainage so the water doesn’t pool inside.
Step 3: Treat the Rust
It’s rare to find a used shipping container without some signs of rust, especially near the door hinges, base corners, or roof edges. Even new (one-trip) shipping containers can have small patches of surface rust. This isn’t necessarily a problem, but it should be addressed.
Use a wire brush, scraper, or angle grinder with a flap disc to remove flaky rust. Once the rusted area is smooth, apply a rust converter or primer that’s rated for metal. This helps stop corrosion in its tracks and prepares the surface for paint, sealant, or whatever project you have in mind.
Step 4: Disinfect and Deodorize
If you plan on storing anything that absorbs smells, disinfecting your container will be worth your time. Use a non-toxic disinfectant or vinegar-based solution to wipe down all interior surfaces, especially the doors and walls.
Step 5: Let It Dry Completely
Once you’ve washed and disinfected, give the container plenty of time to dry. Use fans if needed, or simply prop the doors open for a day or two in good weather.
Step 6: Make It Yours
Once your shipping container is cleaned, dried, and ready to go, the real fun begins—whether that’s installing shelving, adding insulation, or painting the outside.
Cleaning a shipping container before you use it isn’t just about appearances. It’s about protecting your container and anything you’ll be putting in it. Whether you're turning it into a backyard workshop, tiny home, or just using it as a secure storage unit, following these steps will give you a clean start.
Fill out the form below for a free shipping container quote from USA Containers: