Skip to product information
1 of 4

Shipping Container Door Parts Kit: Leverage Bar, Gasket & Hardware

Shipping Container Door Parts Kit: Leverage Bar, Gasket & Hardware

Regular price $251.87 USD
Regular price Sale price $251.87 USD
Sale Sold out
Derek C.

Everything in this kit was straightforward to install, and the easy-open bar is worth every penny for the extra leverage it gives our crew.

In stock. Fast free shipping delivered in 2-5 business days

Complete Project Solution

Purpose-Built for Containers

High-Strength Construction

Commercial-Grade Container Accessories

Weather-Resistant Container Design

Universal Fit

Description

Fix the Most Common Problem With Shipping Containers

Container doors get stiff, bent, rusted, or misaligned over time.
The Door Performance Upgrade Bundle solves ALL of these issues at once.

This bundle improves:

  • Door opening force
  • Door sealing
  • Locking mechanism performance
  • Weather resistance

If you struggle with difficult or stubborn container doors, this is the solution.

WHAT’S INCLUDED

1. Easy-Open Leverage Bar

  • Instantly increases leverage
  • Opens even the stiffest container doors
  • Safer for hands + shoulders

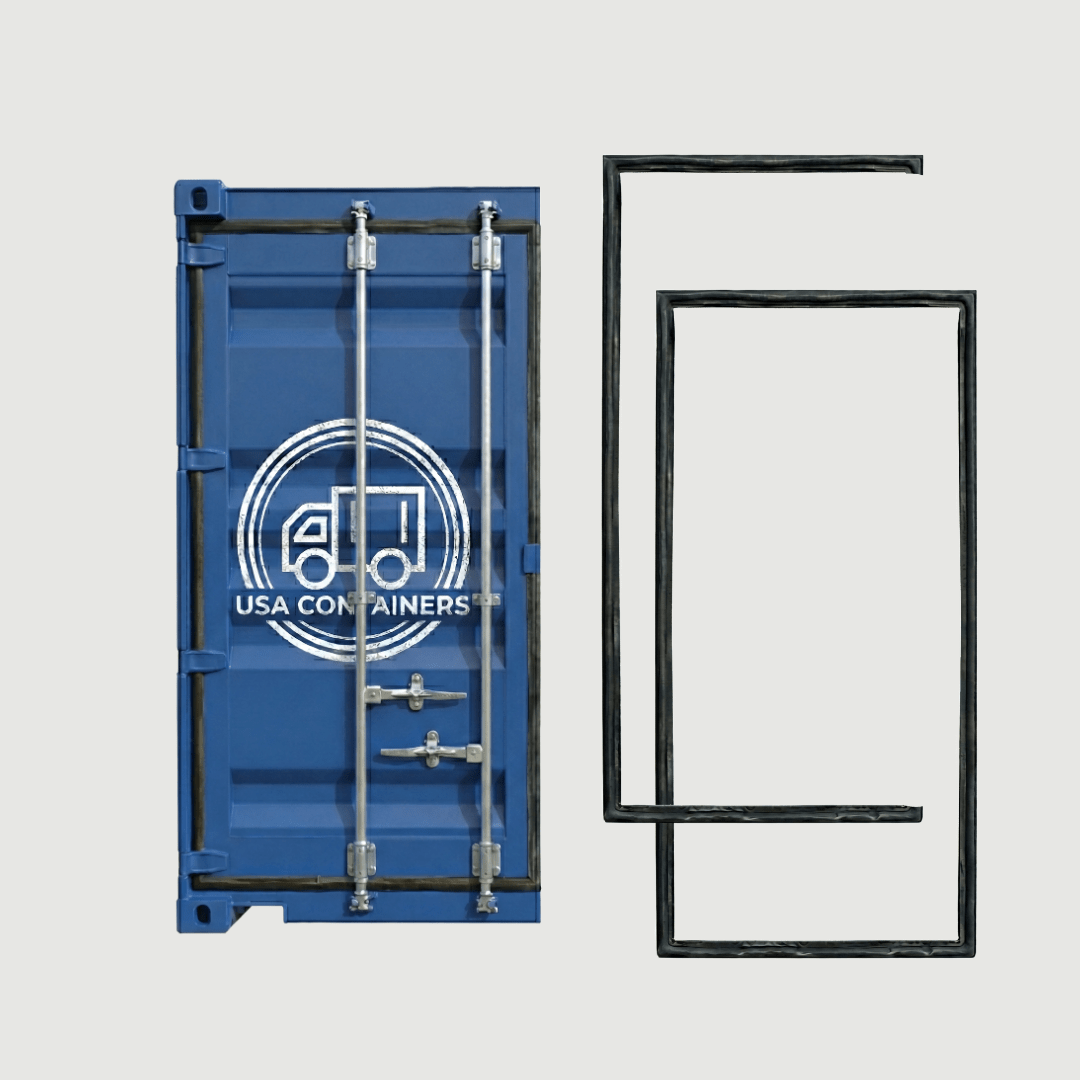
2. Door Gasket (Standard or High Cube)

  • Replaces worn or cracked seals
  • Stops water leaks, dust, and drafts
  • Improves insulation

3. Door Lock Parts (Hardware Kit)

  • Replace worn cams, keepers, and locking components
  • Fix misalignment
  • Extend the life of your doors

Key Benefits

  • Easier opening + closing
  • Better weather sealing
  • Refreshed locking components
  • Prevents future damage
  • Perfect upgrade for older or heavily used containers

Bundle Value

Retail value: $279.85
Bundle price: $251.87
You Save: $27.98

How to use

Leverage Bar Usage Instructions

Application 1: Opening Stubborn Container Doors

  1. Locate the outer locking handles on your shipping container doors.
  2. Take the hollow, open-ended sleeve side of the leverage bar and slide it completely over the end of the container door handle.
  3. Pro-Tip: If you are trying to open both doors, you can utilize two leverage bars simultaneously (one on each handle) to maximize your reach and body mechanics.
  4. Grip the far end of the leverage bar and pull or push firmly. The extended length instantly multiplies your physical force, allowing you to break through rust or alignment friction and pop the door handles open with ease.

Application 2: Tightening Trailer Winch Straps

  1. Locate the tensioning winch on the side of your cargo flatbed or trailer where your tie-down straps are secured.
  2. Insert the tapered, solid tip of the leverage bar directly into one of the receiver holes on the side of the winch drum.
  3. Push or pull down on the bar to rotate the winch drum and crank the straps down tightly over your cargo.
  4. CRITICAL STEP: Ensure the bar is inserted fully into the winch hole before applying pressure. Keep your footing secure and do not jerk the tool; steady, controlled pressure prevents the bar from slipping out of the winch pocket under high tension.

Door Parts Installation

Step 1: Replace the Guide Bushings (Bar Holders)

  1. Locate the damaged or rusted guide brackets that hold the vertical locking bars against the container door (one near the top and one near the bottom).
  2. Unbolt or remove the old brackets from the door frame.
  3. Position the new guide bushings over the vertical bar, aligning them with the factory mounting points.
  4. Securely bolt them into place. These new brackets will securely hold the vertical rod and smoothly guide its rotation as the door opens and closes.

Step 2: Swap Out the Door Handle and Pivot Point

  1. Remove the hardware from the old, bent door handle assembly.
  2. Line up the new door handle with the door's built-in locking mechanism.
  3. If the master pivot housing is structurally compromised, use a standard welder to mount the replacement pivot point bracket directly to the door face.
  4. Pro-Tip: To connect the handle to its pivot point, use the provided heavy-duty rivet for a factory finish. If you do not have a specialized rivet gun on hand, a standard high-grade bolt and lock nut can be used instead to tightly secure the handle.

Step 3: Replace the Handle Latching Catch

  1. Locate the door latch keeper/catch mechanism on the door where the handle snaps flat to lock.
  2. If the old catch is missing, bent, or heavily rusted, remove it.
  3. Align the new latching mechanism and secure it tightly to the door so the new handle sits flush and locks properly without friction.

Step 4: Install the Top and Bottom Locking Cams

  1. Move to the very top and very bottom ends of the long vertical locking bar.
  2. Remove the worn or bent locking teeth (cams) that hook into the container's outer frame.
  3. Insert and secure the new top and bottom locking pieces directly into the ends of the door bar, ensuring they point in the correct matching direction to latch safely into the frame keepers.

Step 5: Install the Smooth-Glide Bearings

  1. Take the set of 5 O-ring bearings included in the hardware kit.
  2. CRITICAL STEP: Slide these specialized ring bearings directly into the structural joints and contact points along the vertical locking rod assembly. Skipping these will cause grinding; installing them ensures the metal components pivot with minimal friction, making tight doors incredibly easy to swing open.
View full details

Upgrade or Restore Your Container's Doors

Bundle

The parts you need for your shipping container project

Container Corrugation Compatible

Designed to match container corrugation and structural contours

Durability

Engineered for superior structural integrity and reliability

Professional Grade

Designed for professional shipping container applications

Weatherproof

Built to withstand rain, snow, heat, and harsh outdoor conditions

Versatility

Fits containers, trailers, trucks, and storage units with ease

What Our Customers Say

  • Derek C.

    Everything in this kit was straightforward to install, and the easy-open bar is worth every penny for the extra leverage it gives our crew.

  • Don K.

    This product has saved us time and money and made the process much safer and convenient. The easy to use handle grip makes opening and closing the levers a breeze. We’re satisfied with the quality of this product and the build. You can feel the craftsmanship is designed for durability and efficiency. Love this item and we will definitely be adding more into inventory for our business.

  • Fred G.

    Best investment!! Doors open and close with ease, even if they’re unlevel. I use this bar for multiple things. I am very satisfied. It makes work hassle free

  • Patrick H.

    Replacing the worn-out gaskets and hardware completely fixed our misalignment and water leak issues all at once.

  • Megan S.

    The new door gasket seals out the rain perfectly, and the locking components make the entire mechanism smooth and secure again.

1 of 5

Questions About Products?

Whether you need more details, have a specific use case in mind, or just want to make sure you're choosing the right accessory — submit your question below and a member of our team will get back to you shortly.